
Create a Cinematic Double Exposure Effect Portrait
Make a Double Exposure Effect Portrait with Seedream 5.5
History
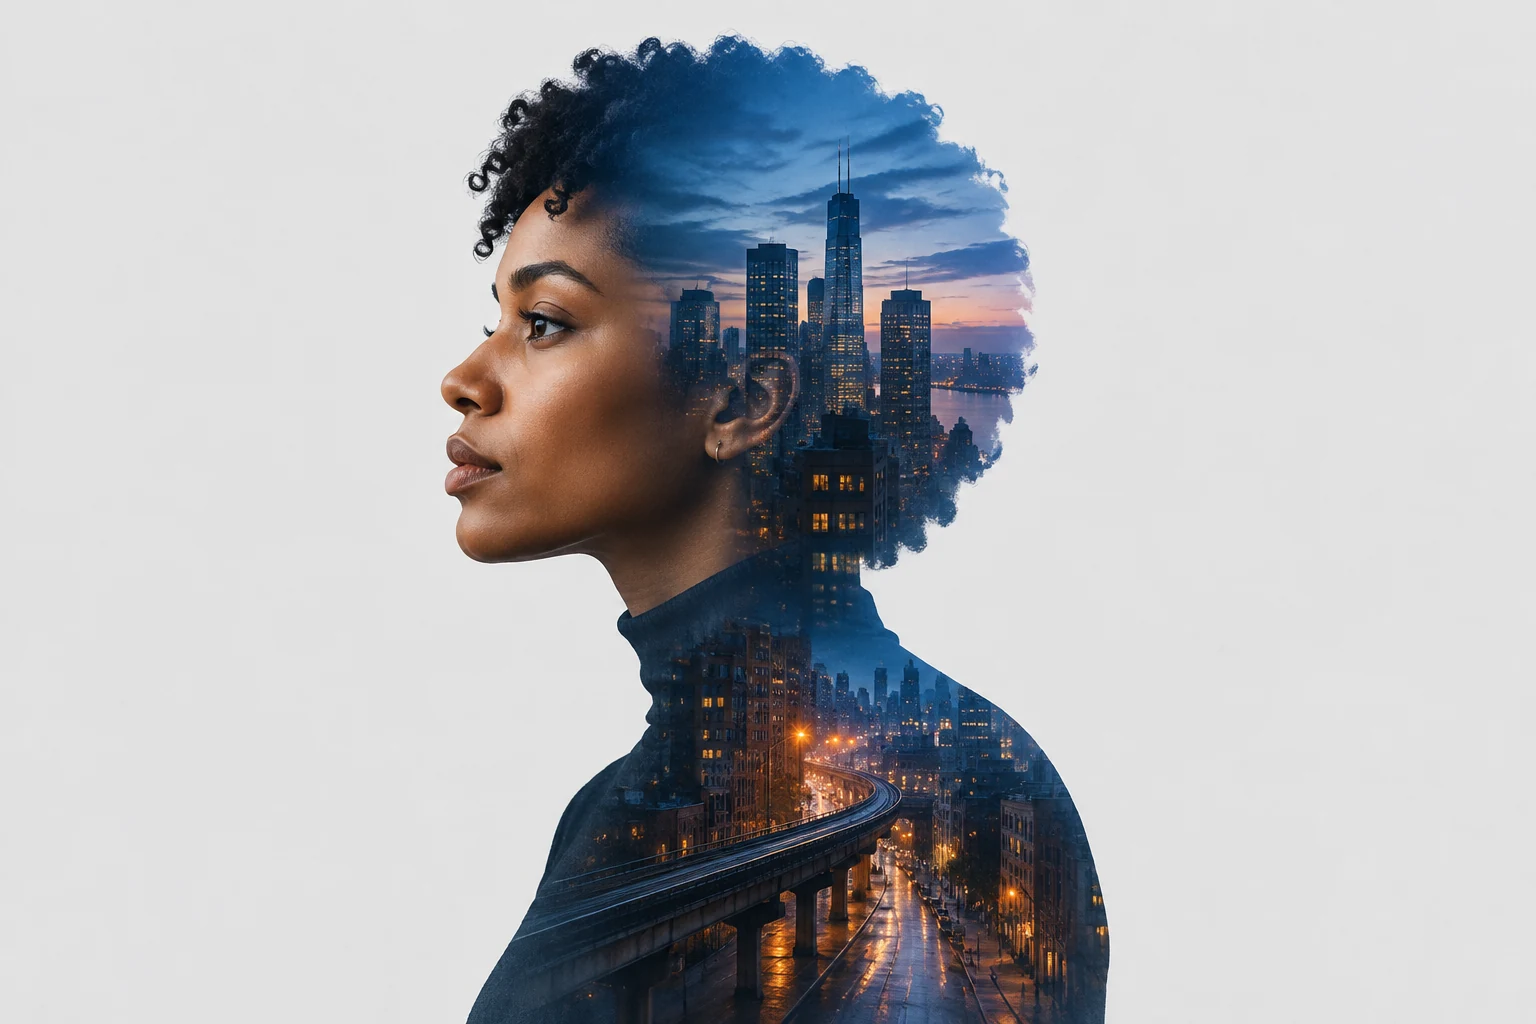
A Double Exposure Effect portrait combines a recognizable profile with a second visual idea, such as a blue-hour city skyline, while leaving the face easy to read. On highsfield.com, choose Text to Image to create an original fictional subject from a written prompt, or Image to Image to adapt one uploaded subject image. Describe the motif in the prompt, keep its visual weight controlled, and review the result in History.
Create your double-exposure artwork
Choose the right starting mode
Use Text to Image to create an original fictional subject and city motif from text; no upload is needed. Use Image to Image when adapting a portrait: it takes one uploaded subject image, and you describe the city motif in the editable prompt. There is no separate landscape upload slot.
Prepare one clear subject image
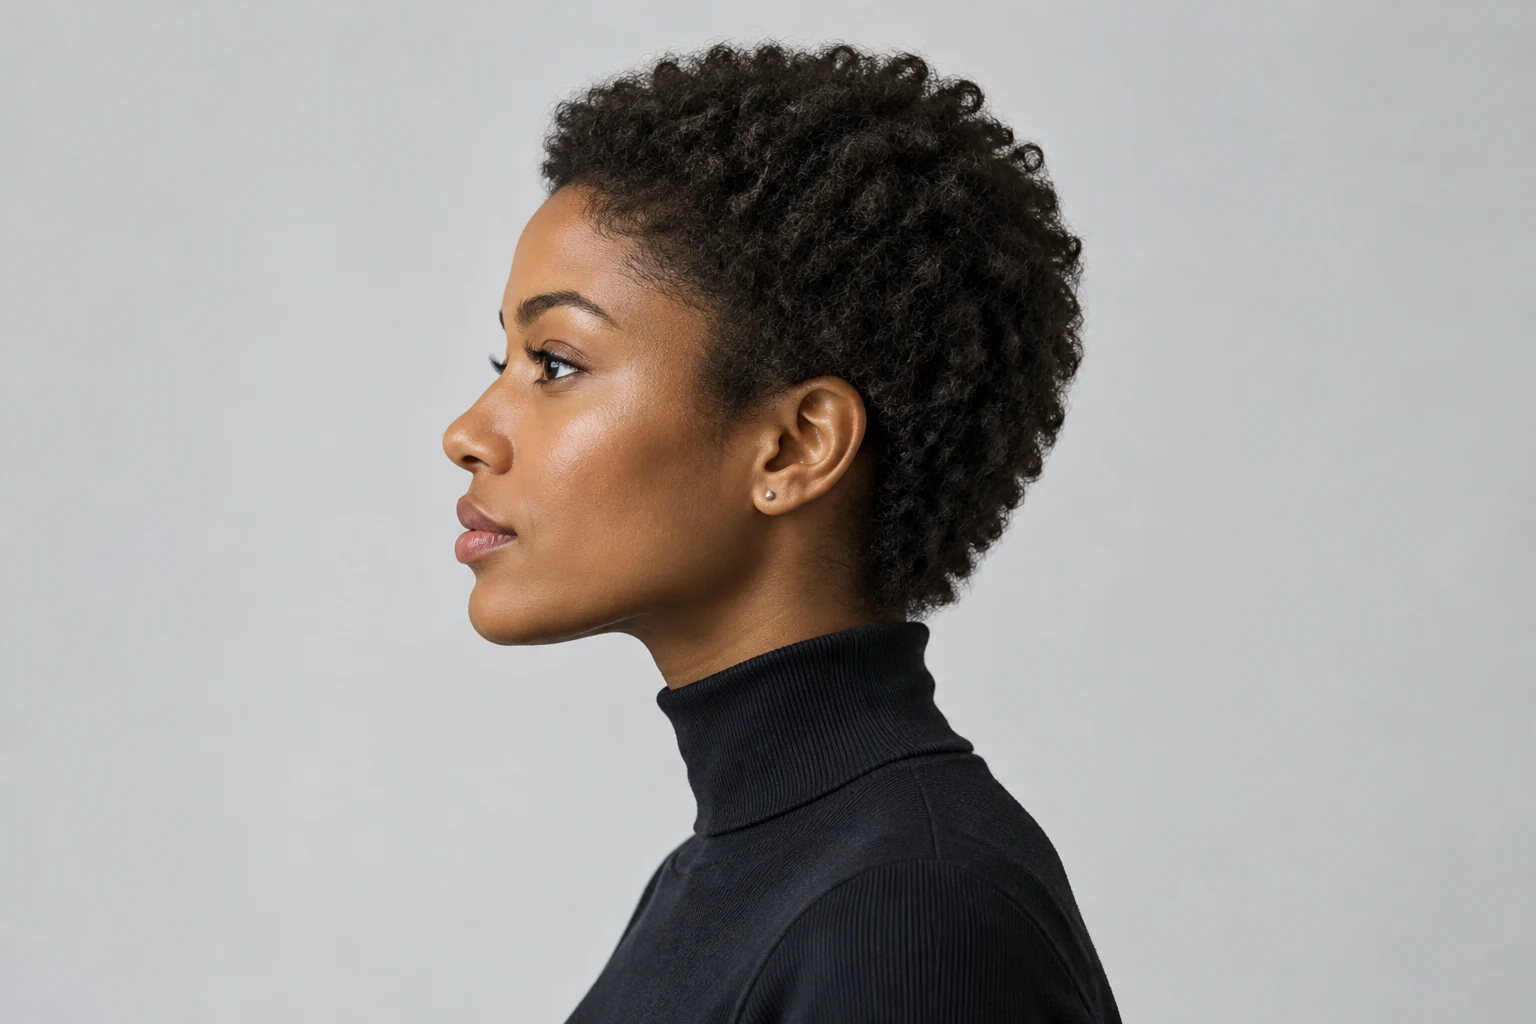
For Image to Image, choose a portrait with visible separation between the subject and background. Favor clear contrast around the hair, shoulders, and face, even lighting, and a pose whose outline is easy to follow. Avoid busy surroundings that compete with the profile.
Describe the motif and visual balance
Name the city details you want, such as a blue-hour skyline, small amber windows, or an elevated street. Ask for a restrained treatment, readable features, and negative space. For an uploaded image, describe its actual person and pose rather than assuming it matches the example portrait.
Generate, review, and refine
Select Seedream 5.5 and use the current panel's size and aspect options to suit your composition. Check the live credits beside Generate before starting. Review the generation status in History, then refine the wording if the city detail overwhelms the face or the contour is unclear.
What makes this city-profile composition work?
A convincing Double Exposure Effect composition depends on hierarchy: the profile should read first, while the city acts as a supporting visual layer. A clean contour around the forehead, nose, lips, and chin helps the face remain recognizable. Small amber window lights provide selective points of warmth against a blue-hour palette. Keep the skyline quieter than the subject, and reserve open space around the silhouette so the image does not feel crowded.
How should I prepare a portrait for Image to Image?
Use one subject image with a distinct outline and enough contrast to separate the person from the background. A simple backdrop, uncluttered clothing, and a well-defined pose give the prompt clearer visual cues. The workflow preserves the uploaded subject's actual outline, proportions, pose, and recognizable features where possible, but likeness and details can vary. Do not expect every upload to suit a left-facing profile or the example's clothing and background; describe the person and composition you actually have.
How can I control the city motif?
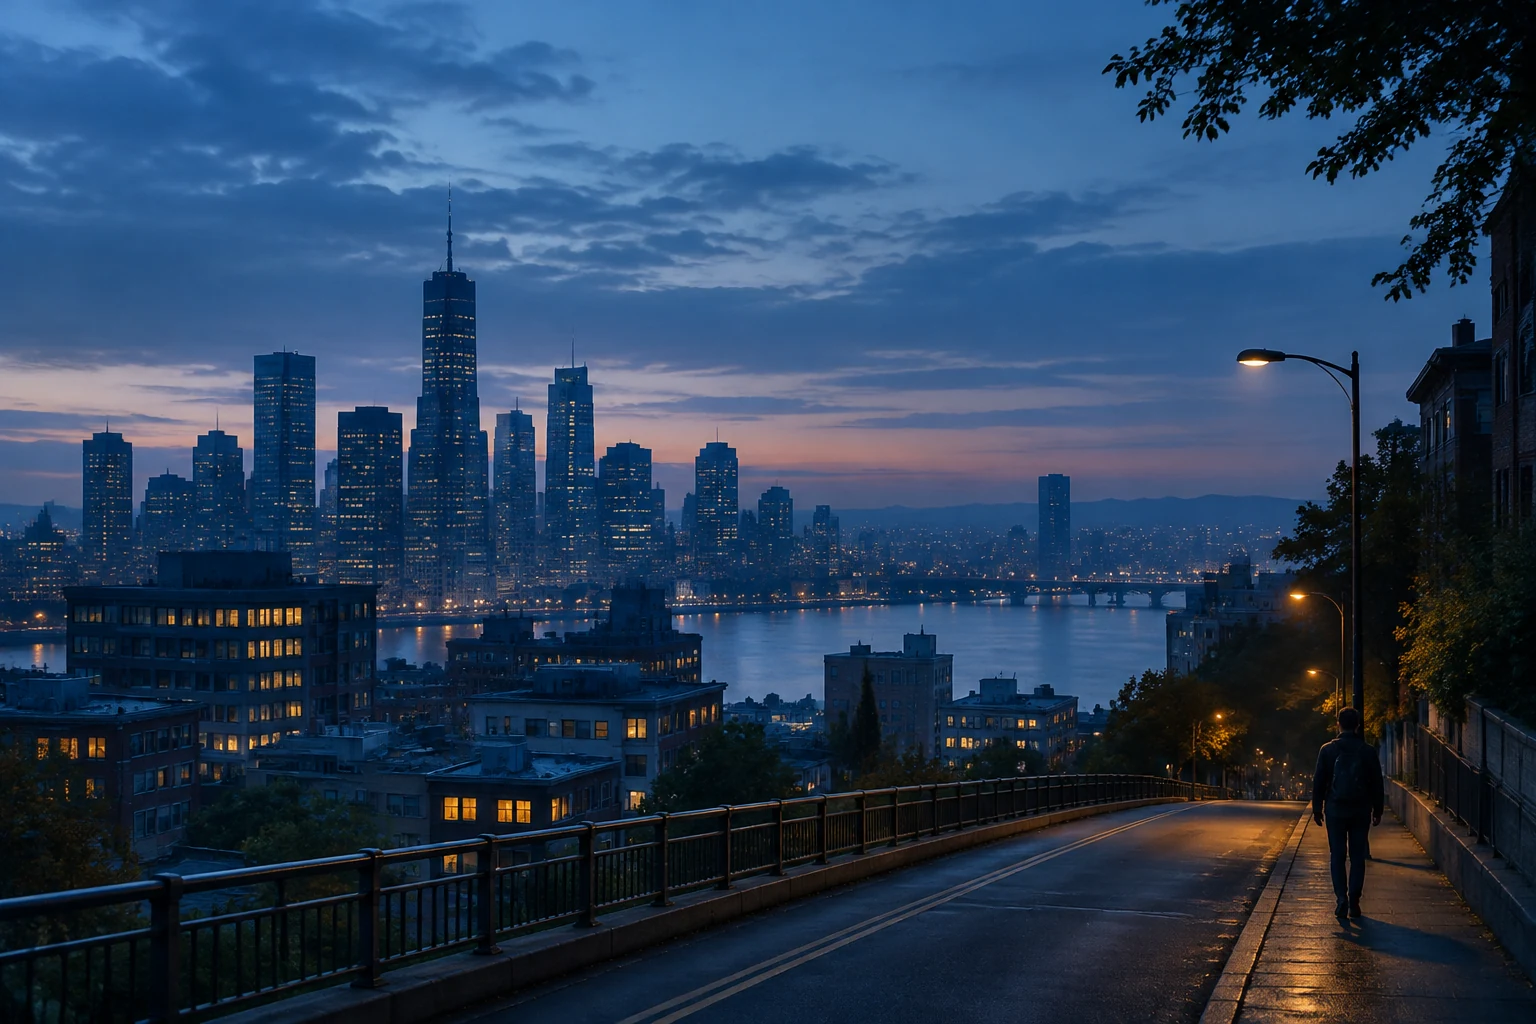
Treat the motif as a written direction, not a second image upload. Specify a few visible elements—perhaps skyline shapes, tiny lit windows, and a quiet elevated road—and state how prominent they should feel. If the image becomes too busy, simplify the motif and ask for more open negative space. If the face loses definition, make its contour and facial features the priority. The detail illustration on this page is only a visual idea to help you describe the motif.
What should I review before keeping a result?
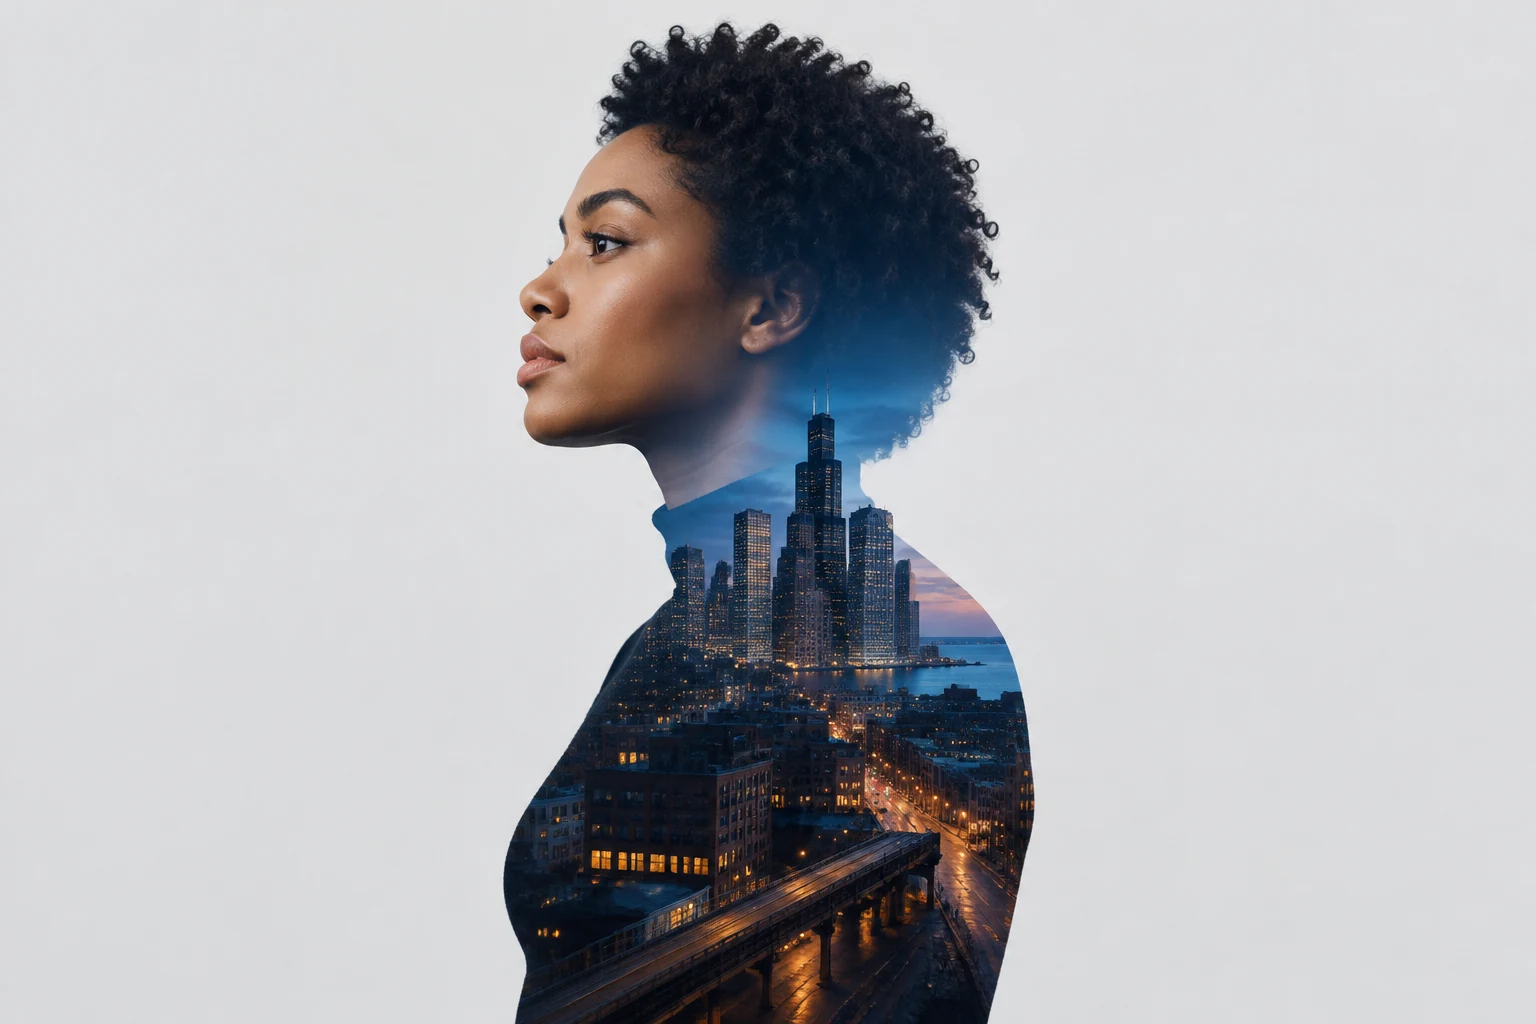
Check that the profile reads at a glance, the hair and face outline remain coherent, and the city details do not obscure important features. Compare the result with your intended balance of subject, motif, and background; revise the prompt or panel options if needed. Portrait examples are fictional adult art, and identity or hair may vary.
Double-exposure questions
Can I create the effect without uploading a photo?
Yes. Text to Image creates an original fictional subject and motif from your prompt, with no upload.
Can I upload a separate city image in Image to Image?
Image to Image uses one uploaded subject image. Describe the city motif in the editable prompt instead.
How do I keep the face readable?
Start with a distinct subject outline and ask for clear facial contours, restrained city detail, and controlled negative space.
Will every uploaded portrait become a left-facing profile?
Do not assume so. Describe the actual subject and pose, and review how the result handles those features.
Where can I check credits and generation status?
Check live credits beside Generate before starting, then review the status in History.
Can I make the city layer more subtle?
Ask for fewer illuminated windows, softer skyline contrast, and more visible facial contours. Review a new version to see whether the profile reads first.
More ideas to explore
AI Video Tools
Explore a separate video workflow when you want to add motion to a prepared image concept.
AI Face in Hole Generator
Explore another portrait-focused image creation option on highsfield.com.
AI Image Tools
Browse image creation and editing options on highsfield.com.
Pricing
Review the site's current pricing information.
highsfield.com · Updated
What's new on this page
- — New guide covering a cinematic city-profile Double Exposure Effect, single-image preparation, text-described motifs, prompts, and the current generation review workflow.